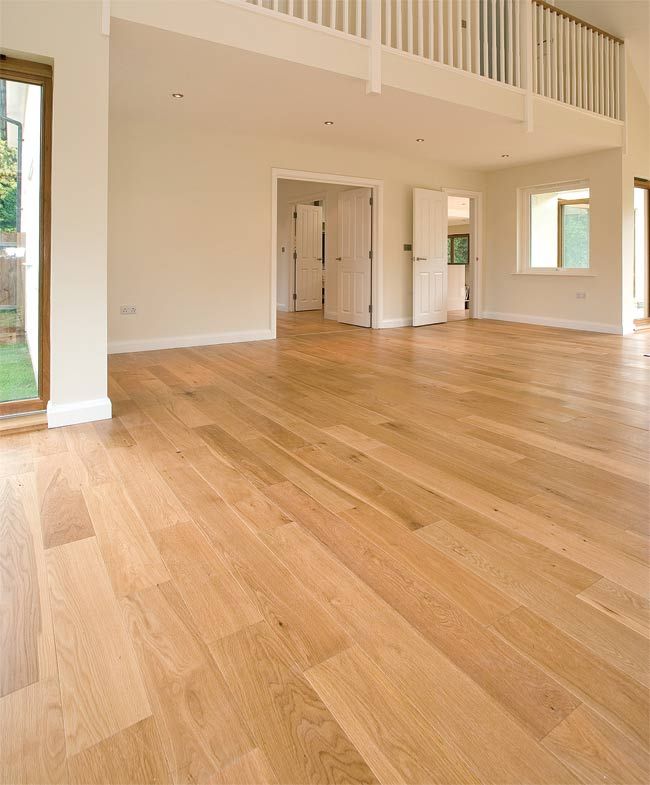
If you need expert flooring services, look no further than William Remodeling Residential and Commercial Services. We can work with any flooring materials so you can walk on the floor of your dreams. For more information or to get a free quote, give us a ring right away!
How Do We Install Flooring?
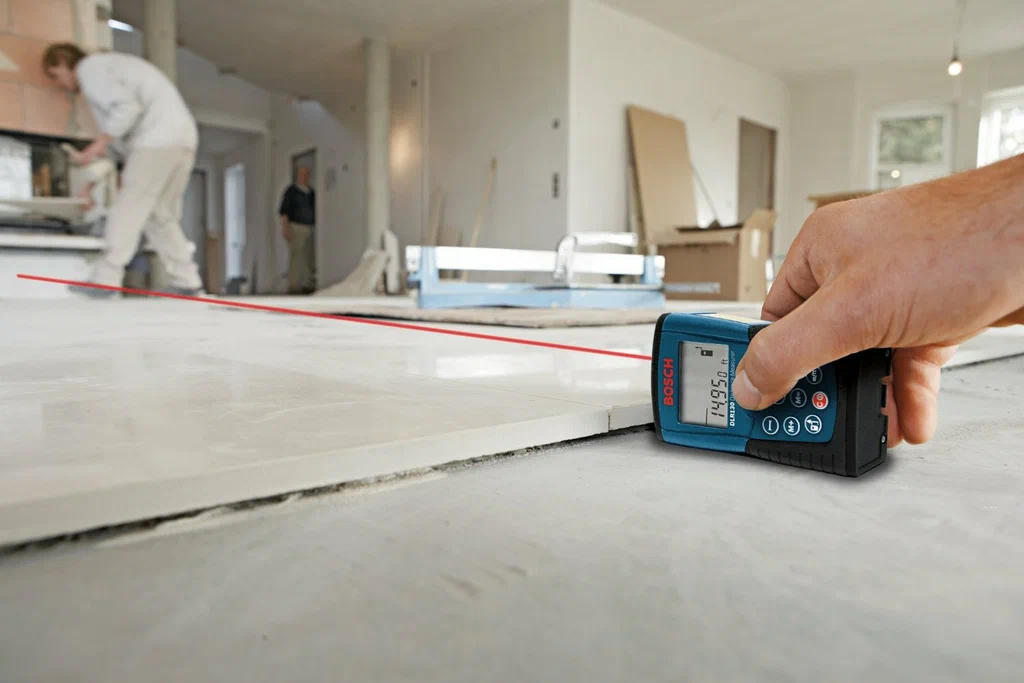
Installing flooring is not as easy as it sounds. It requires careful consideration of various factors. A step-by-step approach is needed to ensure a durable and lasting finish. At William Remodeling Residential and Commercial Services, we follow the below steps to install your flooring:
Preparation
In the first step, we make the necessary preparations by removing the old flooring and inspecting the subfloor. It should be level, clean, and free from mold and mildew. While the subfloor does not need to be perfectly level, you want less than ¼ inch of unevenness across a 10-foot room. An uneven floor could be superficial or a signal of underlying foundation issues. In such cases, we recommend you hire a specialist to check the foundational problems.
Cut the Molding Around Your Door
We trim the molding around your doorways so your flooring sits flush against the wall. We lay a flooring section on top of a piece of underlayment against the molding. Then, we mark where the top of the flooring reaches on your molding in pencil to know where to cut. We then use an oscillating saw to cut the molding to the proper height. We repeat the process for all entryways.
Measure the Room
We calculate how many pieces of planks you need by measuring the room’s width, starting at the longest wall and then dividing by the width of each plank. Some flooring materials, like laminate flooring, will expand and contract as the humidity and temperature change, so we include space for a ⅜-inch gap against each wall.
Cut the First and Last Row of Planks
We cut the pieces in the first and last row using a suitable saw. We also clamp the pieces when cutting. It stops them from sliding around.
Install the First Row of Planks
In the next step, we install the first row of the planks. Getting the first planks right sets up the rest of the project, so we take our time here. We start laying pieces against the wall, taking care to position the cut edge toward the wall. We snap the pieces together by pressing firmly.
Install the Remaining Rows
As we are done with installing the first row right, we then proceed to install the remaining rows. The second row is similar to the first, with one primary difference.
If you want to learn more about our flooring process, consider contacting us. We would be happy to answer your queries!
Call for A Quote!
If you need our expert services, ring us a phone call or fill out the online form. We will answer you shortly!
There are many types of tiles to choose from that provide a high slip coefficient. Keep in mind the higher the slip coefficient, the more complex the tile is to clean. Most tiles today offer a nice balance between ease of maintenance and safety.
It is better to remove the existing vinyl, but if it does not cause a transition problem from one floor to the next and/or if it does not cause a problem with the installation or removal of appliances and doors, then it can be done.
Carpet shading is the optical illusion that makes the carpet in one area of a room appear lighter or darker than another area. This is caused by how the carpet piles lay and the lighting. This is more common with plush carpeting and not so much with loop-style carpeting.